Sweet Ideas using Candy Canes
PROJECT SARA MARTIN | PHOTOGRAPHY TARA CHATTELL
Add a touch of nostalgia to your holiday table with iconic and colourful candy canes.
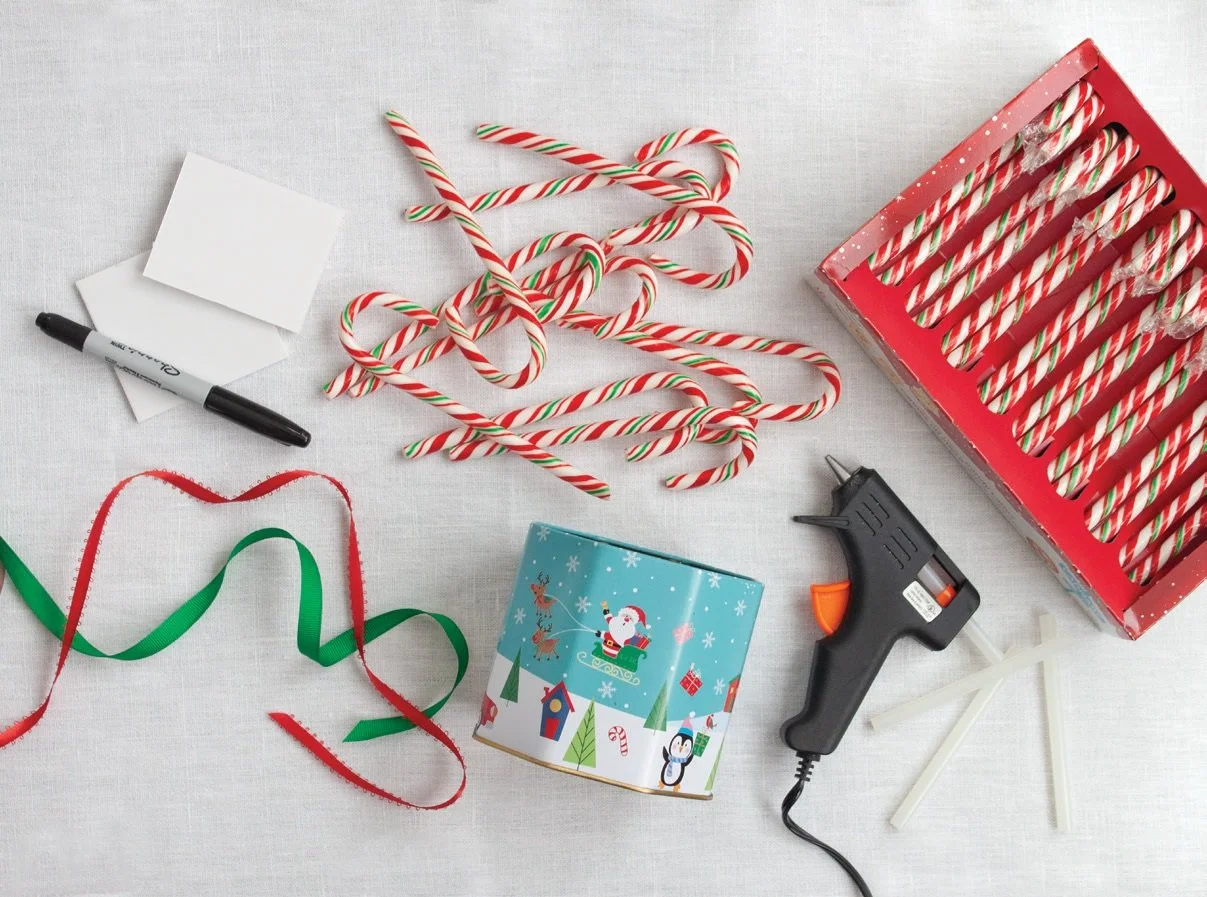
TOOLS & MATERIALS
Hot glue gun
Hot glue sticks
Candy canes (six-inch red, green and white canes were used for this project)
Five-inch-tall metal container
Ribbon
Foam core board
X-Acto knife
Permanent black ultrafine-tip marker
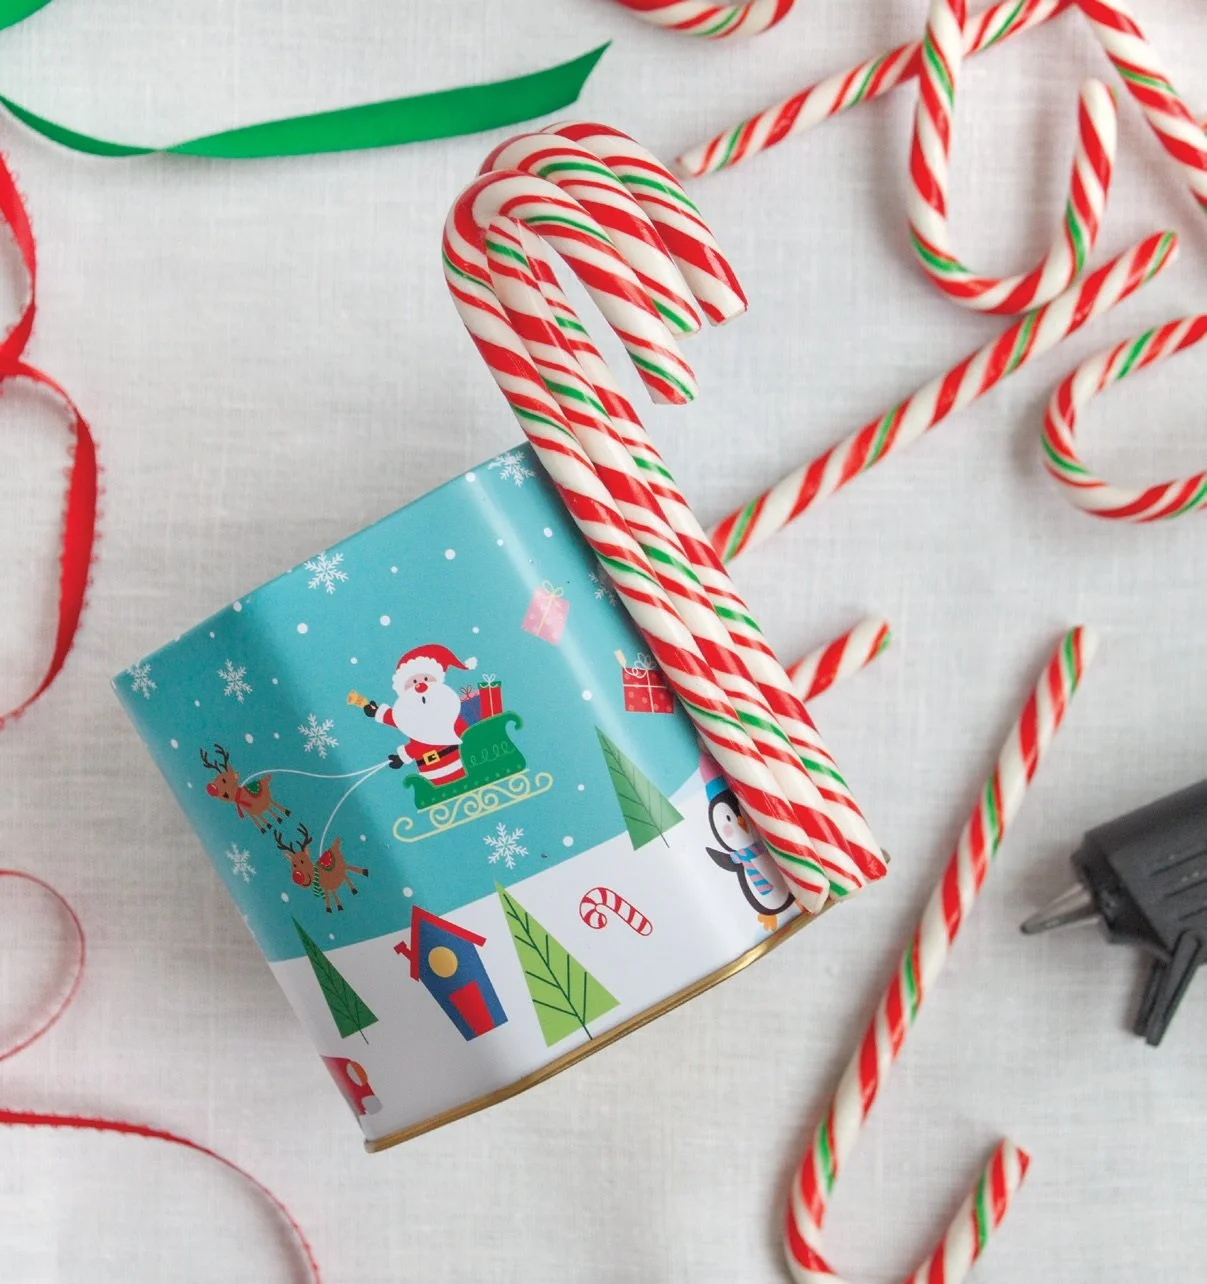
To Make Containers
Carefully unwrap candy canes; you will need about 45 for a container like the one used in the photo, which has a diameter of four-and-a-half inches.
With a glue gun ready, squeeze a five-inch line of hot glue onto the first candy cane and adhere it in a straight line to the metal container, with the hook of the candy cane extending over the top opening and facing outwards.
For the second candy cane – and each one after – squeeze the hot glue directly onto the container right beside the previous cane and place the next one as close as possible.
After placing about five to six canes, make sure the container is in an upright position to avoid breaking the curved part of the canes.
Continue until the container is completely covered. To finish, wrap the candy cane container with an accent ribbon and tie it into a bow.
*NOTE: The metal container could be spray-painted in a solid colour before putting the candy canes in place, but it’s not necessary if the candy canes have no gaps between them.


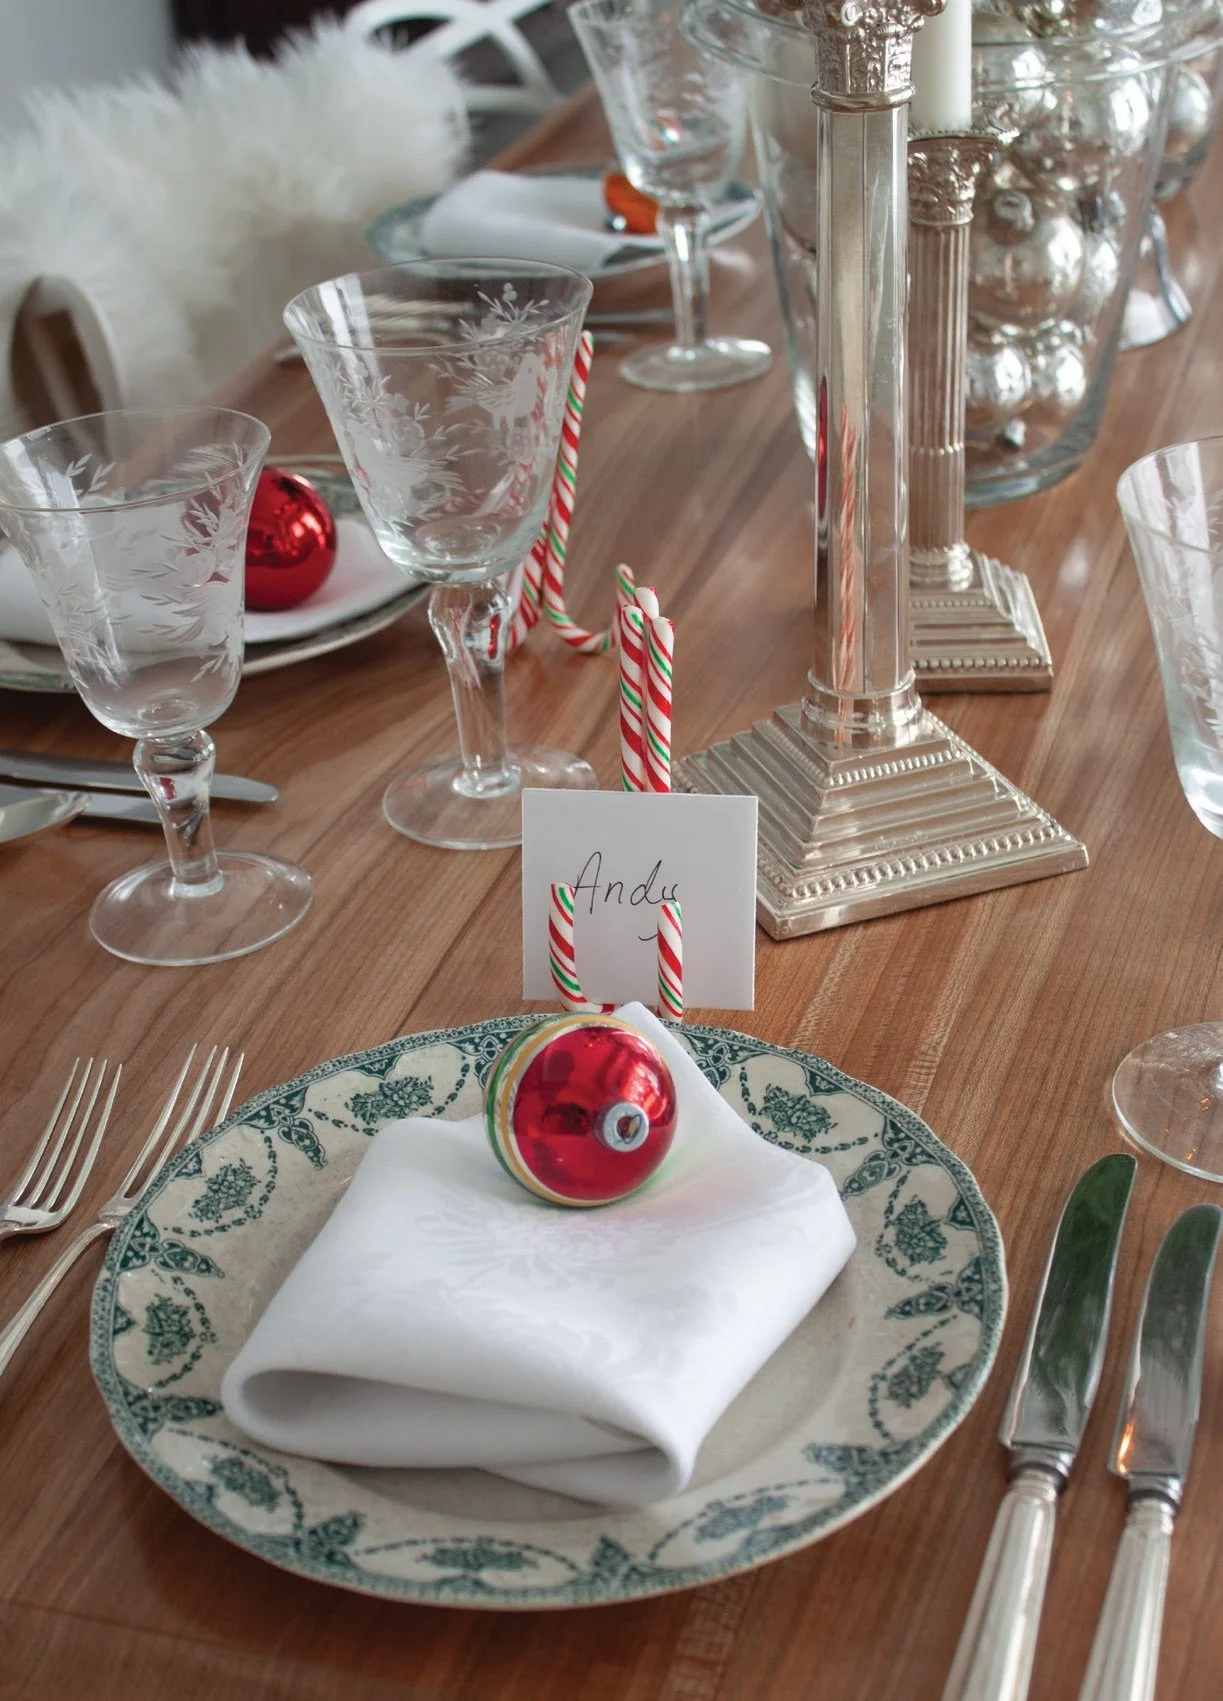
To Make Place Cards
Carefully unwrap three candy canes. Glue two together, ensuring the curved parts of the canes form a V-shape and sit flat on an even surface. Squeeze glue into the back seam of the two canes.
Place the third cane with the curve facing away from the seam and slightly higher. This cane forms the rear leg of the card holder, allowing it to tip back slightly to stand.
Cut your desired shape from the foam core, measuring about five inches long and three inches tall. Use a permanent marker to write guests’ names. OH